In this blogpost, I am sharing about the food photography equipment that I have and what I recommend for beginner food photographers. Nowadays, I work as a professional food photographer, but I also started from zero and I have built my collection over time. I got my first tripod on a vintage market, crop sensor second hand camera with kit lens, and used it for about a year, while practicing my skills and getting to know this craft.
You don’t need an expensive gear for practicing and finding out whether you love food photography or not. Today, I will share with you all the equipment I have nowadays, and give you my point of view of what equipment you can get when starting out.
*I was not paid to write this blogpost by any brand I mention, and the blogpost contains affiliate links. That means, if you purchase some of these products, I'll get an affiliate commission.
Camera and lenses
today I shoot with Canon 6D mark ii. I chose this camera for a few reasons: full-frame sensor, great flexibility of working with high ISO, rotating screen, wifi built-in, and a good price for the quality of the camera.
original battery and other extra batteries Patona for Canon, and the charger
I also have Canon 750D, this is the lens I started with. I don't use it anymore for photography, but I still keep this camera. Sometimes I use it for creating educational content for my members in our Members’ Club. I loved this camera because it has a wifi built in, it supports 3rd party flashes, and has a rotating screen.
Original battery and other extra batteries PATONA for Canon 750D
When it comes to lenses, 100mm 2.8 macro prime lens is my go-to lens nowadays. I have always doubted buying it, but since I have it, I use it 90% of the time.
24-70mm 4.0 zoom lens, that I mostly use for travelling and car photography. These lens is second-hand and I bought it out of curiosity. I use this lens much less in food photography. I recommend these lens for those, who does lots of restaurant work or even food photography and need the flexibility of having various focal length in one lens.
50mm 1.8 prime lens - this was a game changer for me when starting out. It’s a great price for the quality of the lens. I bought it at the beginning of my journey, and I fell in love with the sharpness and colours that this lens captures in the images. I recommend it to everyone who is starting out, it’s a great lens for crop sensor cameras, as due to crop factor, it behaves as 80mm, which is ideal for capturing food photos.
18-55 mm these were my kit lens I got when buying the 750D crop sensor. I am not a bit fan of zoom lens, but it was a great upgrade from mobile I used before, and it served me well while learning about photography.
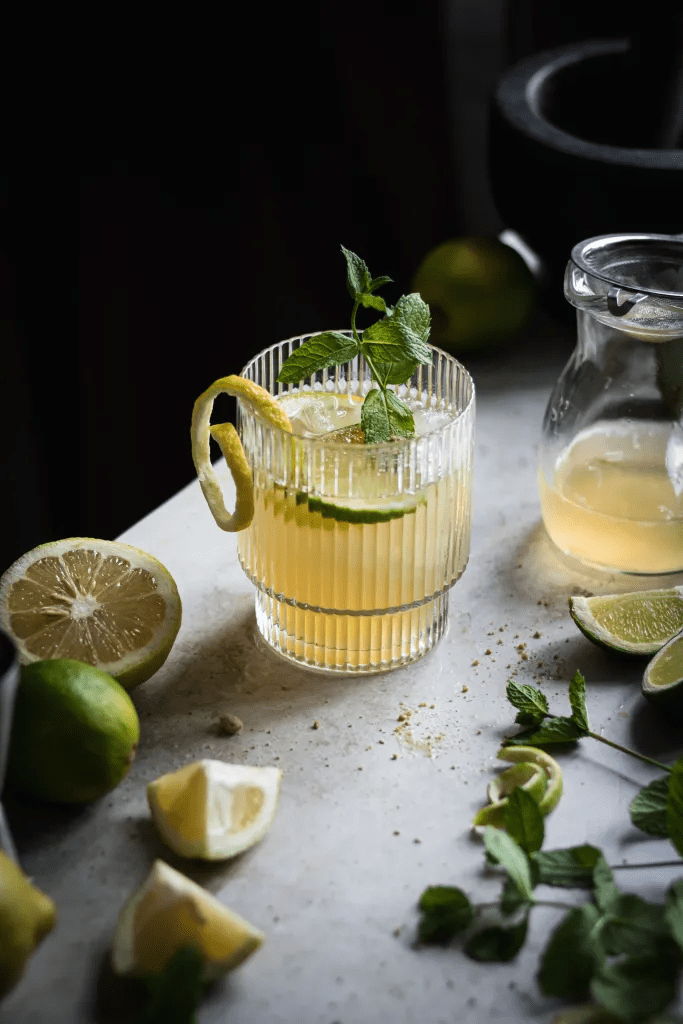
Shot with full frame camera and 100mm lens
Shot with crop sensor camera and 50mm len
Recommended food photography equipment for beginners:
*I have never had other brands, so I will mention only Canon brands.
I have found Canon 750D a good quality crop sensor camera, otherwise any crop sensor camera of Canon or other brands can do a good job. However, when buying amateur line camera, make sure it's compatible with 3rd party flashes.
50mm 1.8 lens is a great prime lens - again, I love the sharpness and colours this lens captures. 18-55 is also a good lens for the very beginning, but when you feel you need to upgrade the quality of images, 50mm 1,8 is an ideal choice.
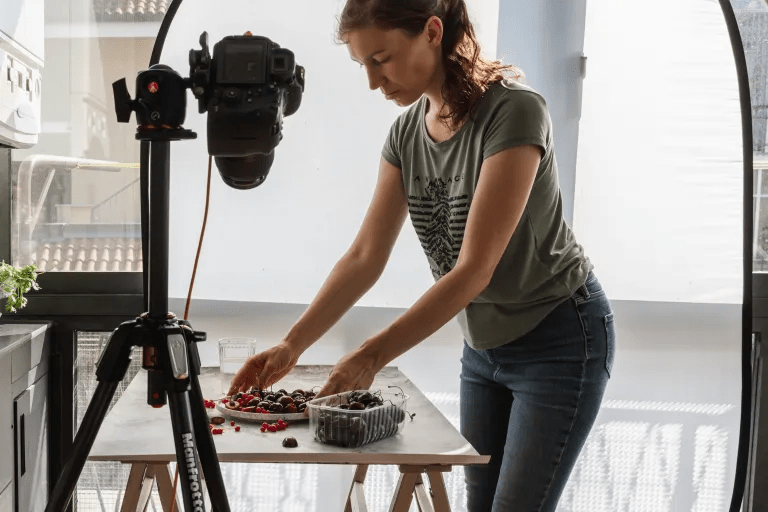
Shooting with natural light
Food Photography Lighting equipment
I have Godox FV200, which I 100% love! I was shooting only with natural light for about 2 years, and I bought the artificial light when I started having clients.
This light, FV200, provides both, continuous light and flash. The fact that I have both in one piece of equipment is really conformable. One negative thing I have to point is the weight. It’s quite heavy and I don’t recommend getting this lighting if you travel to locations. However, this is a great equipment to have for a studio work.
I also shoot with natural light sometimes, which I love. I think it’s necessary to learn first how natural light works. The principles of lighting are the same for natural and artificial. So once, you know how to manipulate natural light, you can confidently shoot with artificial too.
Shot with artificial light
trigger X2 - for connecting flash to a camera. This trigger X2 is for canon cameras, and this one is for Nikon.
Neewer large diffuser 2mx1,5m, which I use all the time. It’s large enough for creating bright and airy shots, but gives you lots of flexibility to create any mood you wish. I use this diffuser for natural and artificial lighting too, instead of a soft box. I don’t have a soft box, as I don’t really need it. I use this diffuser for diffusing the artificial light, and I also teach how to do it inside our Members’ Club.
small round diffuser of 110cm, which I bought when starting out. Nowadays, I don’t use it much as I prefer using larger one. However, as this diffuser comes with the black, golden and silver cover, I use the black one for creating the black background or as a negative fill.
lighting stand, to mount your light on. The heavier the light is, the better quality stand you will need. I love how robust these stands are.
very affordable food photography equipment are white and black cards - I do have a few of them of different sizes. They cost 4 euro each, and you can get them at any DIY store. To know more about these cards, you can join my mailing list and see them in a freebie you will receive.
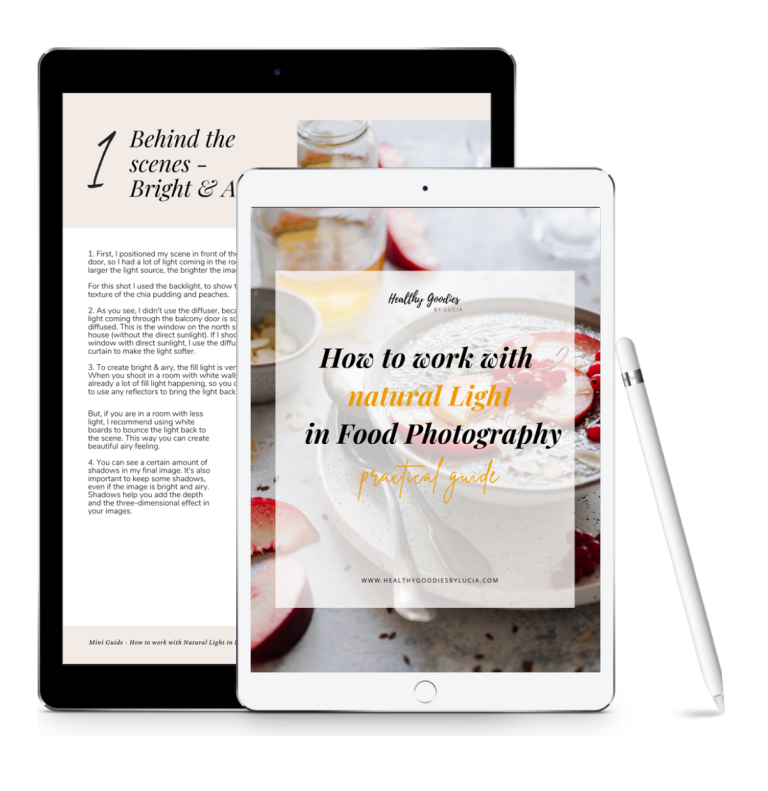
You can download this free lighting guide to see the behind the scenes examples, or for more resources, you can join our Members’ Club.
Recommended food photography lighting equipment for beginners:
I believe everyone should try natural light first. Natural light constantly changes and you will face many challenges. This will push you to understand better the camera settings, how to work with ISO, or white balance, etc... Inside our Members’ Club, we have a course about Lighting, and masterclasses videos where I show how to work with natural light. You are welcome to join if you want to learn more about this topic.
Godox FV200 is great and I absolutely recommend it, however I know the budget might be tight for those starting out. That’s why the light I recommend is Godox SL60. It’s a good quality continuous lighting for a good price.
I recommend these stands. You never have enough stands, and getting a good ones at the beginning is a great investment.
I would recommend to get a large diffuser 2x1,5m, however if your budget or space doesn’t allow, this one is a great choice too.
white and black cards for blocking the light and reflecting it. Just get them at any DIY store, they costs a few bucks. Again, you can join my mailing list and download the Lighting Guide to see what these cards are.
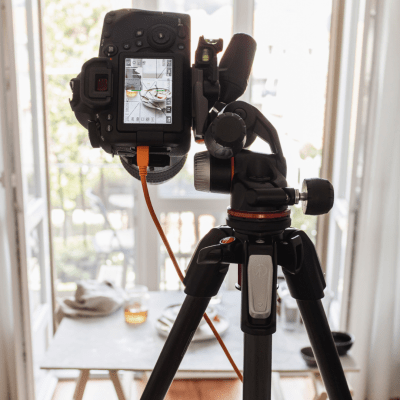
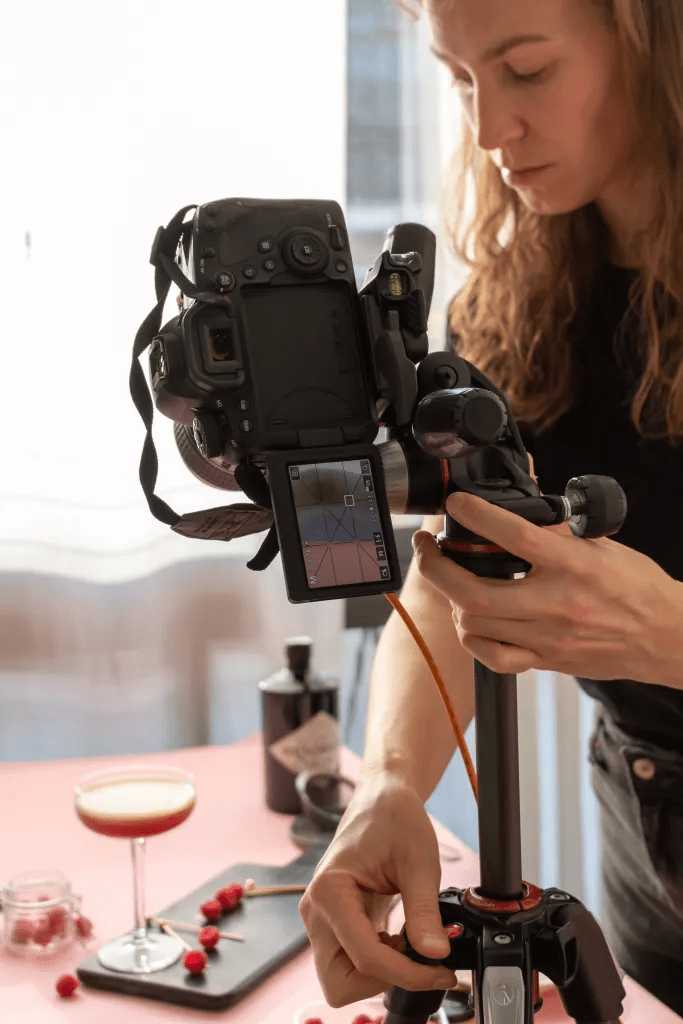
This is the Manfrotto Tripod 190, with X-PRO 3 Way head
Tripods, tripod heads and other stands
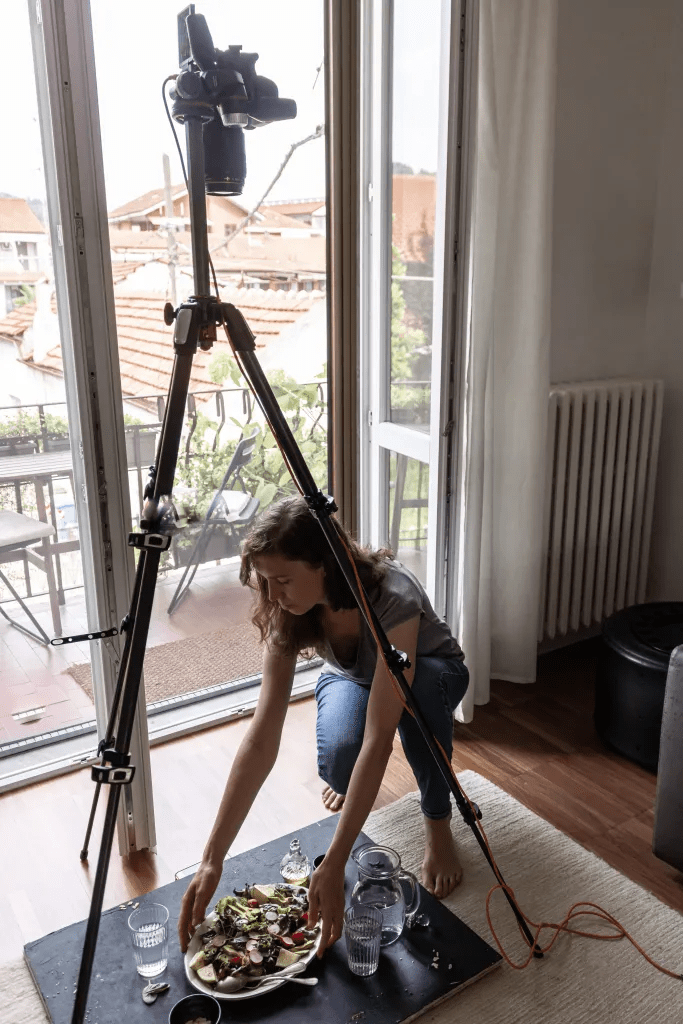
Manfrotto Pro 190 is a great tripod, I absolutely love and recommend it. It’s light, but strong and of a great quality. I got this tripod during 2021.
Neewer tripod is what I had before and I used it for a good couple of years. When I started I just bought a vintage tripod on a flea market for about 20 euro, and used it for a year. After this, I bought this neewer and used it for about other 2 years.
Neewer C-stand, that I use for flat lays, or even for holding the diffuser, reflectors or black cards. C-stand was a game changer, I believe it’s absotelutely necessary to get at some point. I can’t imagine my life without a C-stand anymore.
Manfrotto adapter for attaching your camera to the C-stand when shooting flat lays,
Manfrotto X Pro ball head and X-Pro 3 way head. They both are a great quality, there is nothing else to say for Manfrotto, once you try their products, you simply love them. I found myself using the 3 way head more, it has a great flexibility of various angles and with the Manfrotto stand and this head, I even manage to use my 100mm lens on a full frame sensor and capture larger scene.
again, as mentioned before, I have these two stands, one I use for holding the GODOX light, the other one for holding the diffuser
these clips, that I use for folding the diffuser or backgrounds at the background of the scene
computer stand, is my latest piece in the collection and I love it. Before, I used to place my laptop wherever I found a free space. For the sake of my back and health, I am extremely proud I got the stand finally.
Using the Manfrotto Tripod 190, with the X-PRO 3 Way head and 100mm lens
Recommended FOOD PHOTOGRAPHY EQUIPMENT for beginners:
if your budget allows, Manfrotto Pro190 is a great investment and you will use it for many years. You will need to get a tripod head extra, so again, if your budget allows, get this one.
on the other side, Neewer tripod is a good to have when starting out too
and if you really don’t want to spend much, because you might first want to find out if you love this craft or not, just get any second hand tripod
then, you can get these stands, or similar ones. They are not must to have at the beginning, but can become really handy at some situations
C-stand can be a great choice especially for crop sensor cameras. Because of the crop sensor, you need to get further from the scene and C-stand will give you this opportunity. However, they are heavy and take lots of space. But, they are worth it
When getting C-stand, this adapter is what you need. You mount camera directly on it. No other adapter or ball head needed there.

Computers, hard drives, softwares, cables
MacBook Pro 16-inch, 32GB RAM, 1T SSD, 2,3 GHz 8-Core Intel Core i9, which I use for editing, tethering and daily work. I got 32MB RAM for video purpose, as I create lots of video content for the Members’ Club. However, if you need a computer for editing, retouching or tethering, you are good to go with 16GB RAM too.
MacBook Air, 8GB RAM, 120GB SSD, I bought it when starting out. One lesson I learned after I bought this laptop: it’s worth investing a few hundreds more to get larger SSD memory. Lesson learned, and nowadays, I use this laptop only for writing, browsing internet, emails, or working on some Canva graphics. It's small and light, super handy for working from town.
Adobe Photography Creative Cloud, I pay monthly subscription. I use Lightroom Classic for editing my images, and Photoshop for retouching. I also teach how to use these programs in our Members’ Club.
Capture One - for tethering and editing of the images. Since I use Capture One, I don’t use Lightroom Classic. I find that Capture One does a better edits and it offers me the possibility to tether and edit images within one software.
EOS Utility is what I used to use for tethering before Capture One. EOS is for free, while Capture One comes with additional costs, which makes sense to pay once you earn money from photography
Lacie hard drives, I have two, 2TB and 4Tb. I use the 2 TB for a daily work, I never save anything on my PC but having my hard drive plugged in every day. Then, I use 4TB for backups.
iCloud - for additional backups, and saving some documents that I can access from both computers via cloud
Cable Tethertools for tethering, which I bought after working with clients. This cable is quite expensive, therefore when I did food photography as a hobby, I just used a simple 4 euro cable and all was working just fine.
Grab my freebies and improve your skills
Join my VIP e-Library and get access to all my freebies and live training replays to help grow your food photography skills.
Recommended food photography equipment for beginners:
I don’t have an experience with other brands than Apple, when it comes to photography. I simply love working with Apple products (this is not sponsored I have two computers and they mirror the desktop screen, due to iCloud. I can access folders on both computers without the need of creating copies of documents on both. However, I understand getting MacBook at the beginning can be expensive. So, any computer with minimum of 16GB RAM, 500GB SSD memory (ideally aim for 1TB) and a hard drive, such as Lacie 2TB minimum will do.
Adobe Photography Creative Cloud - it’s worth it. Really. I remember when starting out, I didn’t want to pay 10 euro month for this. I was trying to find some free softwares to edit the images. Adobe is really a go-to choice. If you want a free app, use their Lightroom app on your mobile. But upgrading to paid version will be a game changer. After all, you get Lightroom Classic (an advanced editing software I recommend) and Photoshop for really great price.
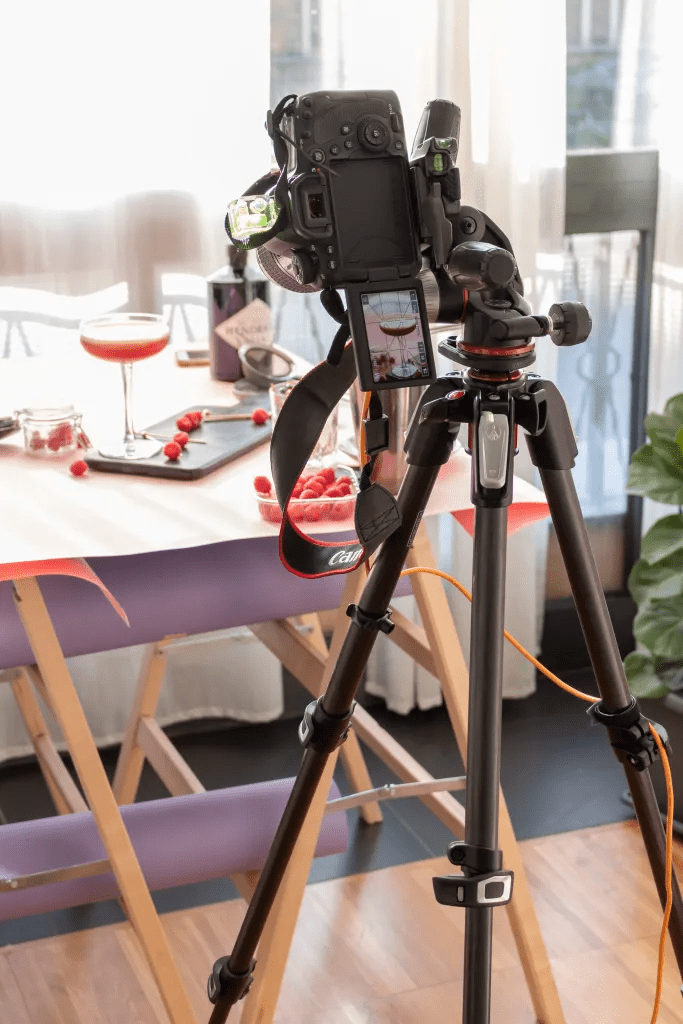
Conclusion: A must-have food photography equipment I recommend for beginners
I want to point out that to improve your food photography, an equipment is not what will make your skills growing. Yes, it will contribute to a higher quality photo, but you can practice and learn food photography without expensive equipment.
The game-changer is your creativity, how you apply composition, how you work with lighting or colours. You can learn and grow your skills with a mobile, or very basic gear. Then, as you grow, you will feel the need to upgrade your lenses, camera, get some other tools that will make your shooting processes easier.
So, let's sum up what is a necessary food photography equipment for someone who wants to start this craft:
crop sensor camera (second hand is just fine), if Canon - 750D was great. I recommend, before buying a camera, double check the compatibility with 3rd party flashes
50mm 1,8 prime lens
Neewer tripod - which is good to start with, or if you have budget then Manfrotto 190 and this head
no artificial light is necessary, I really encourage you to learn natural light first, if you want to diffuse the light, you can do this with a curtain too...
but, if you really need artificial light, GODOX SL60 (continuous) is a good to start with
then, you will need a diffuser, softbox is not necessary, as you use the diffuser instead of the softbox
simple black cards you get in a DIY store for a few bucks
Lightroom free version is ok, otherwise, Lightroom Classic is top.
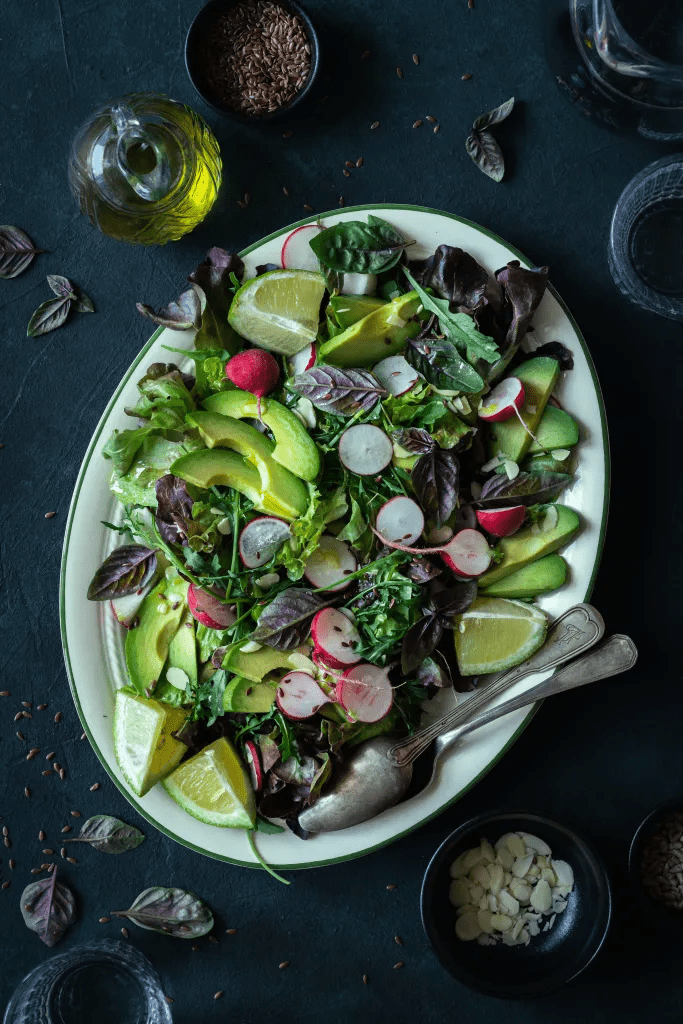
I took this shot with Canon 6D mark ii and 100mm lens, using natural light
Thank you for reading!
Thank you for stopping by and reading this blog post. It means a lot to me.
If you want to dive into food photography, and take your skills to the next level, I invite you to join our Members’ Club. We have food photography courses there, other masterclasses, an amazing community of other like minded creatives. This is the environment that will inspire you, motivate you and help you progress more and faster towards your goal.
Let me know about your gear in the comment s or on Instagram! You will find me as @healthygoodiesbylucia. I am excited to hear from you!
Don't forget to get your freebies and join me for 50tips series - 1 food photo tip every Friday!
Join my mailing list and you will be automatically added into 50tips series - where I share 1 food photo tip every Friday. After you join me, you will receive freebies to your mailbox.
Award Winning Food Photographer, Teacher, Business Coach, and, Founder of FOODlight.
I am passionate about food photography, online business, sharing my knowledge & building a community of amazing like-minded creatives, such as yourself, that inspire and support each other.
Feel free to reach out to me via my email lucia@foodlight.io or via Instagram, I'll be happy to connect with you!
